How to Make Bread
Every yeasted loaf follows the same ten steps. Once you can see what each one is for, most bread recipes stop being instructions to follow and start being variations on something you already know.
The short version
Mix → Knead → First rise → Shape → Second rise → Bake → Cool
-
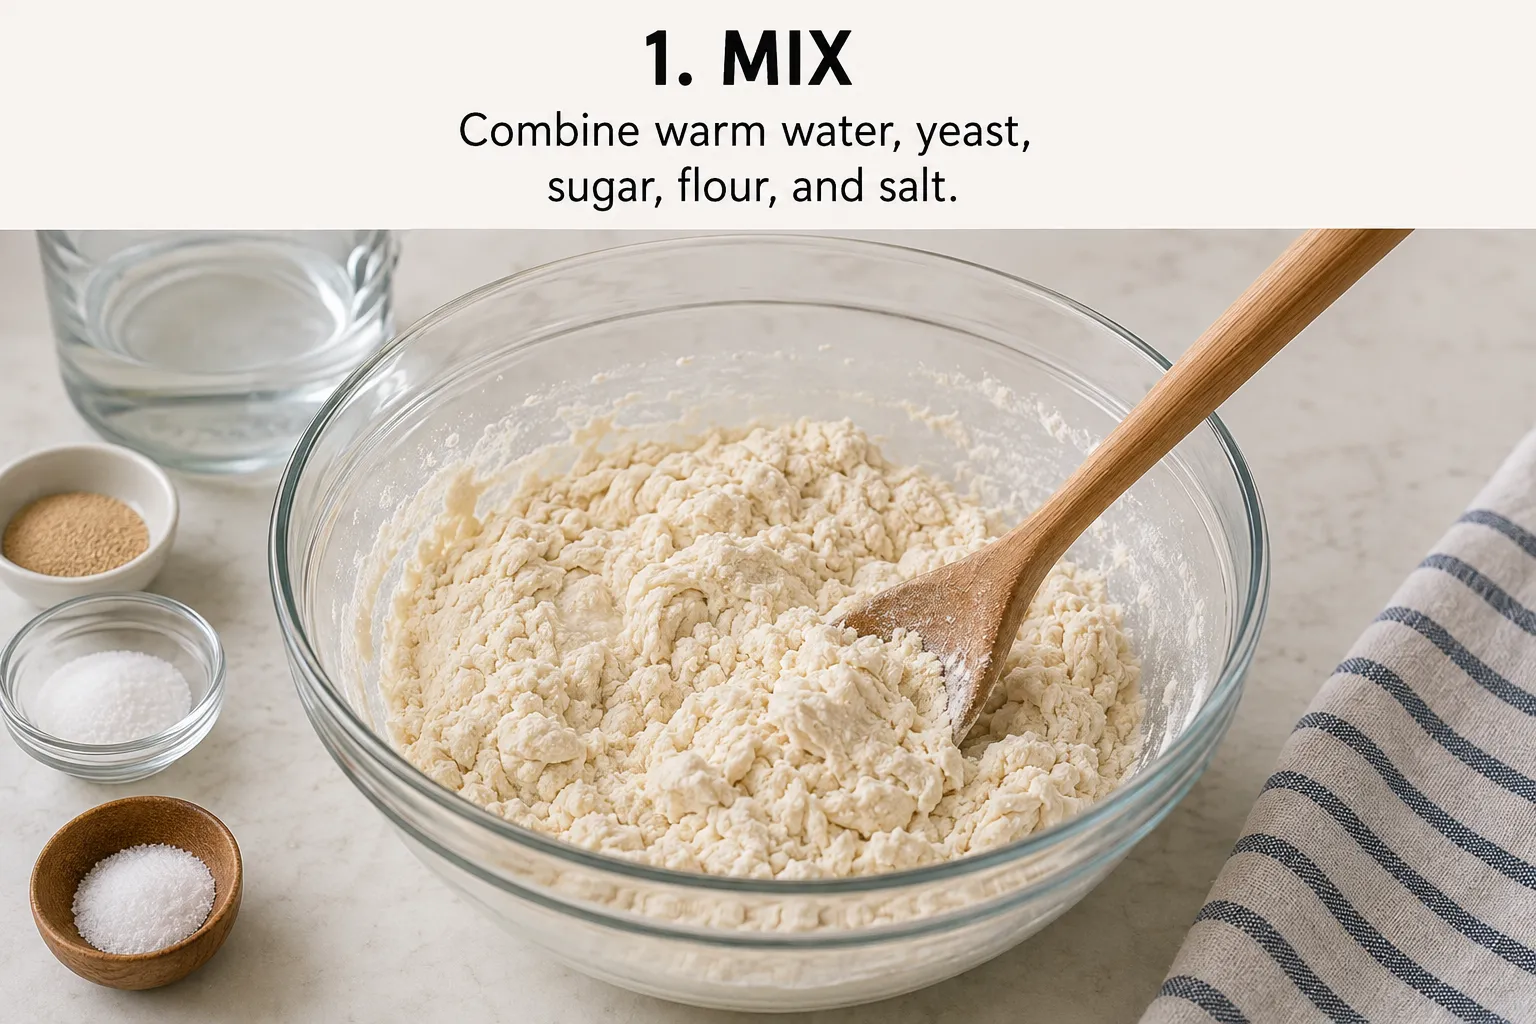
1 Mix
Combine warm water, yeast, sugar, flour and salt. Warm means comfortable on your wrist — hot water kills yeast, and cold water leaves it sluggish. Stir until no dry flour is left and the dough looks rough and shaggy. It is not meant to look smooth yet.
-
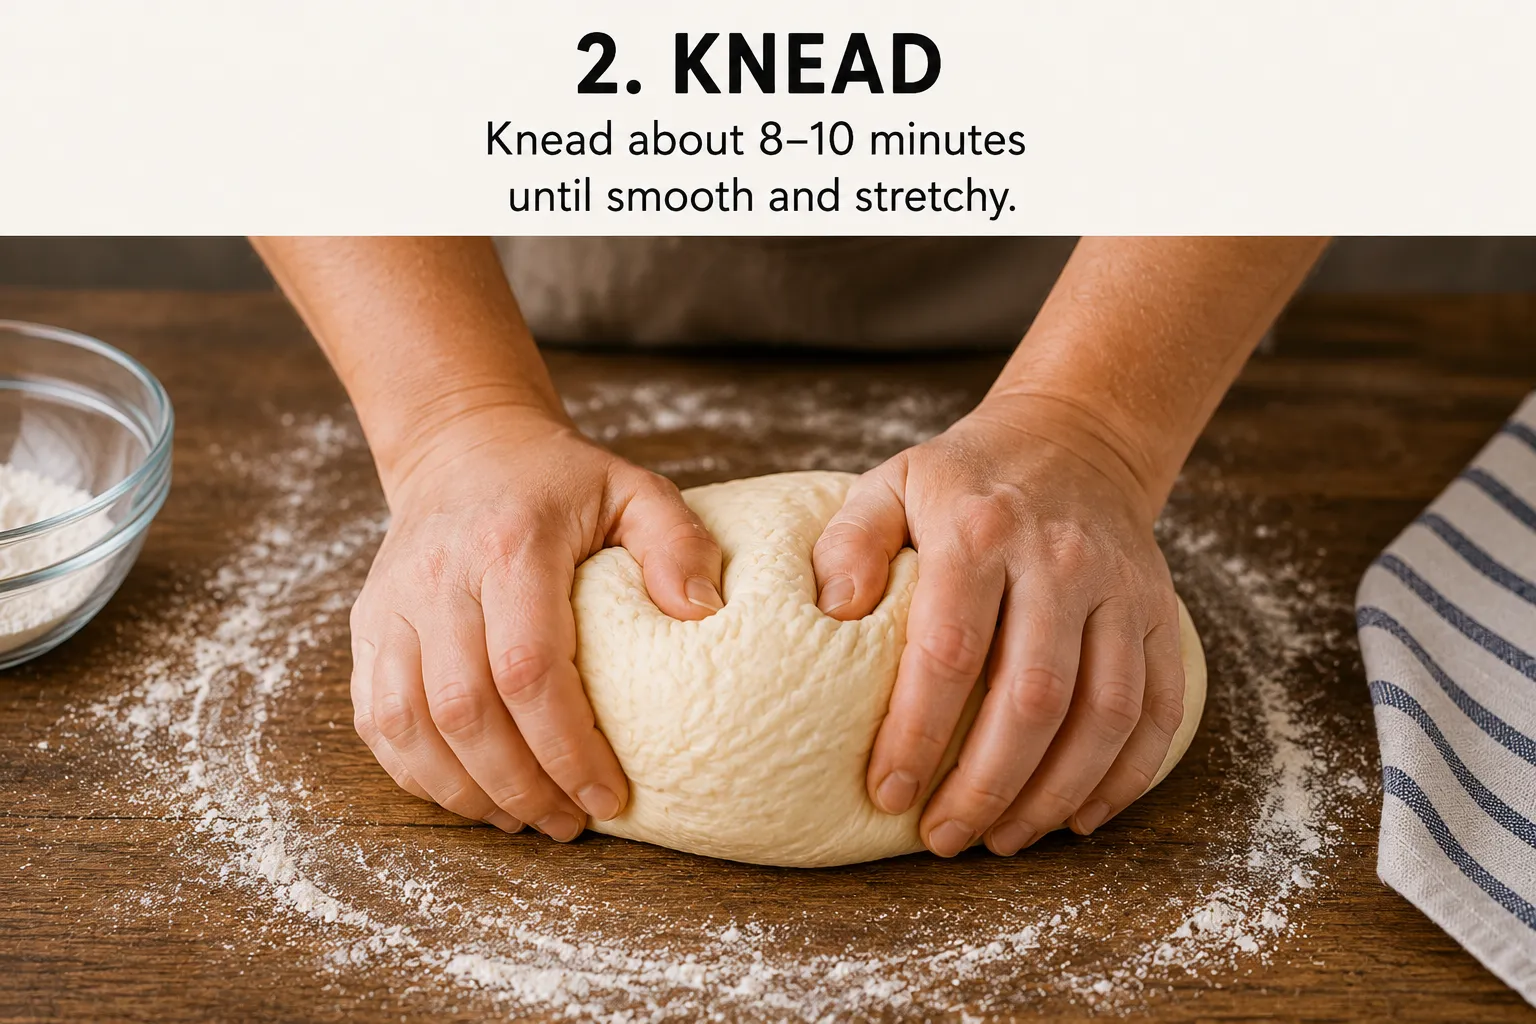
2 Knead
Knead 8 to 10 minutes, until smooth and stretchy. The test is not the clock but the dough: pull a piece and it should stretch thin without tearing straight away. Resist adding much extra flour — a slightly tacky dough makes a softer loaf than a dry one.
-
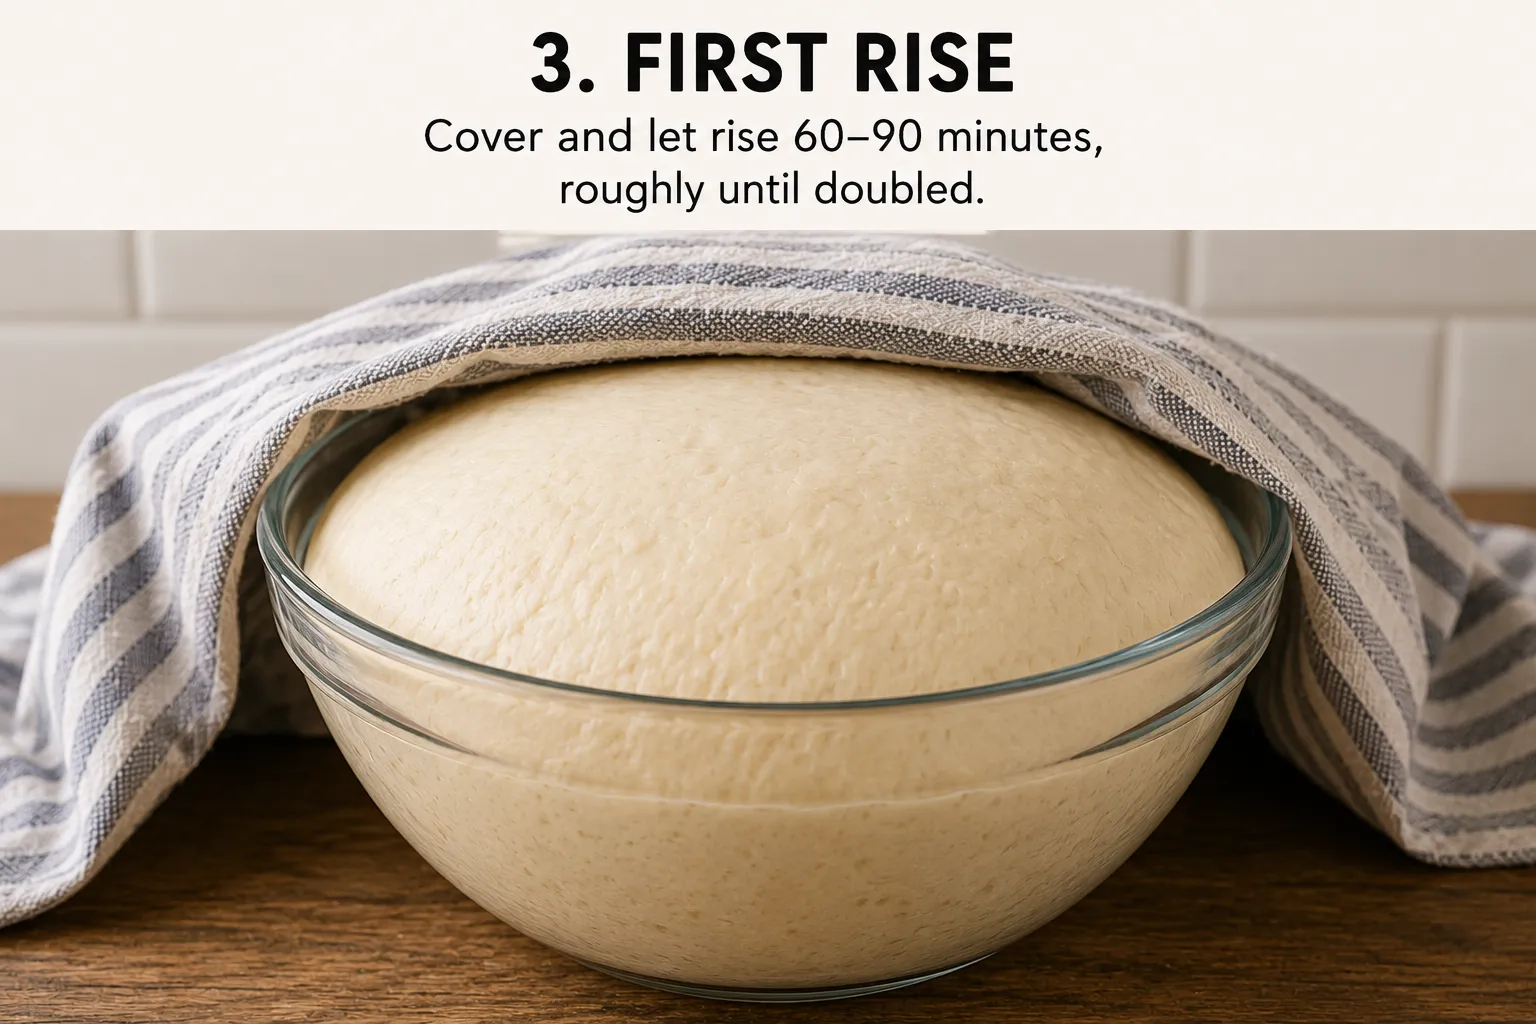
3 First rise
Cover and leave for 60 to 90 minutes, roughly until doubled. A warm kitchen is faster and a cool one is slower, so judge by size rather than time. Poke it: if the dent stays, it is ready.
-
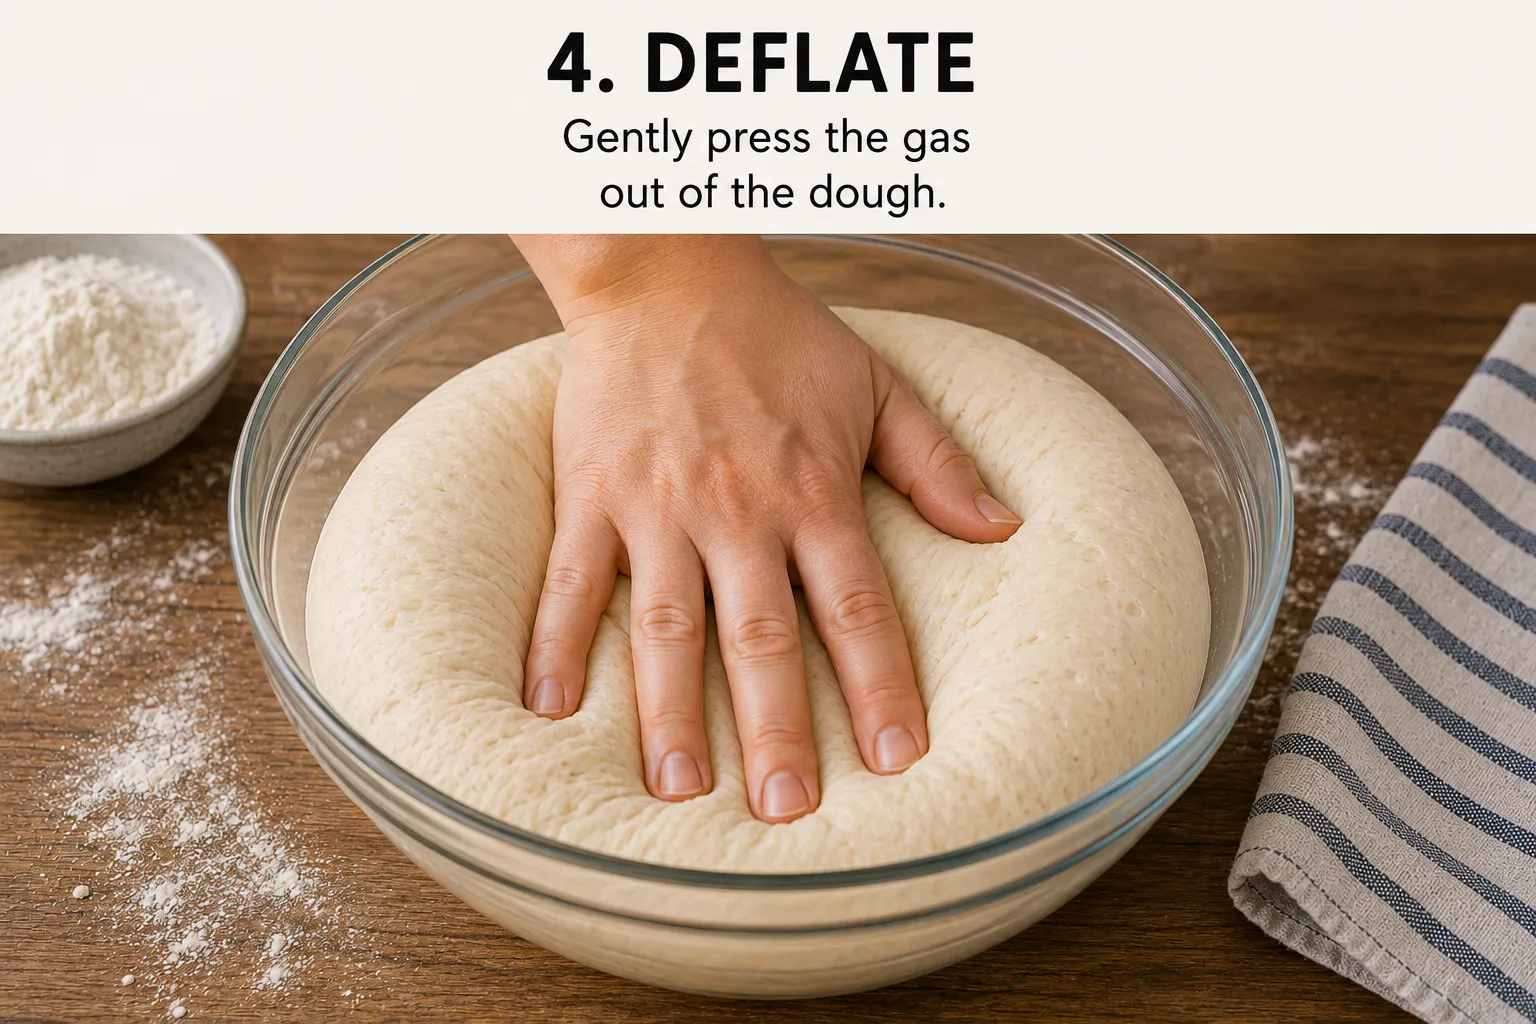
4 Deflate
Press the gas gently out of the dough. This redistributes the yeast and breaks up the largest bubbles, which is what gives a sandwich loaf its even crumb rather than big holes.
-
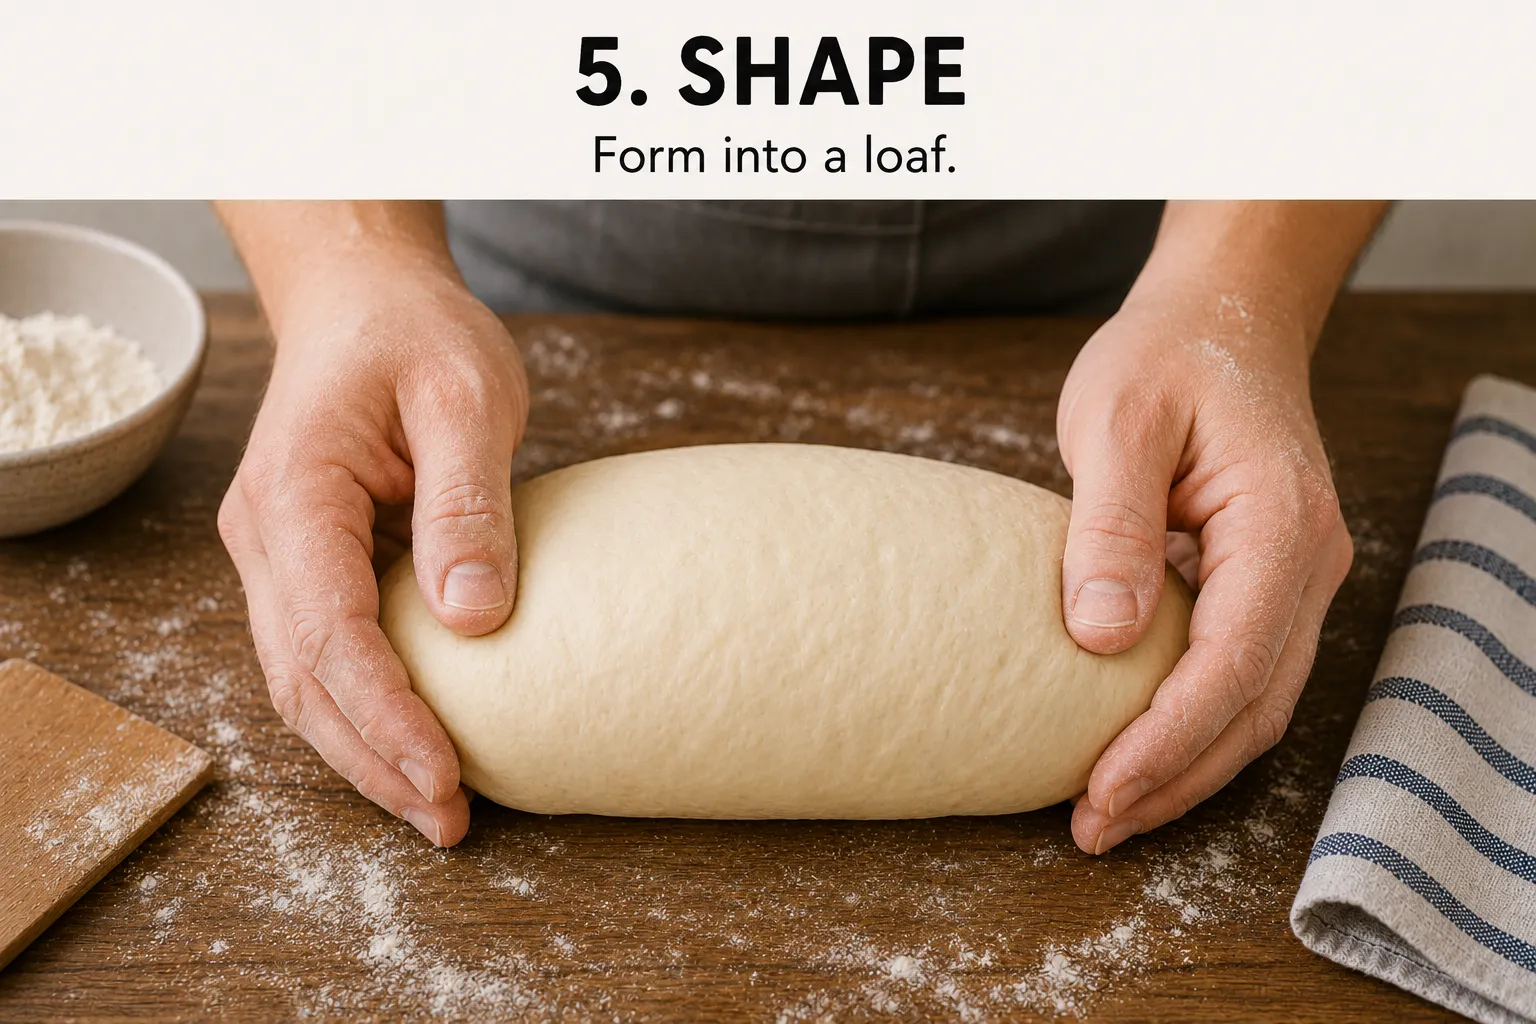
5 Shape
Form it into a loaf, roughly the length of your pan. Keep the surface taut as you shape — that tension is what makes the loaf rise upward rather than spreading sideways.
-
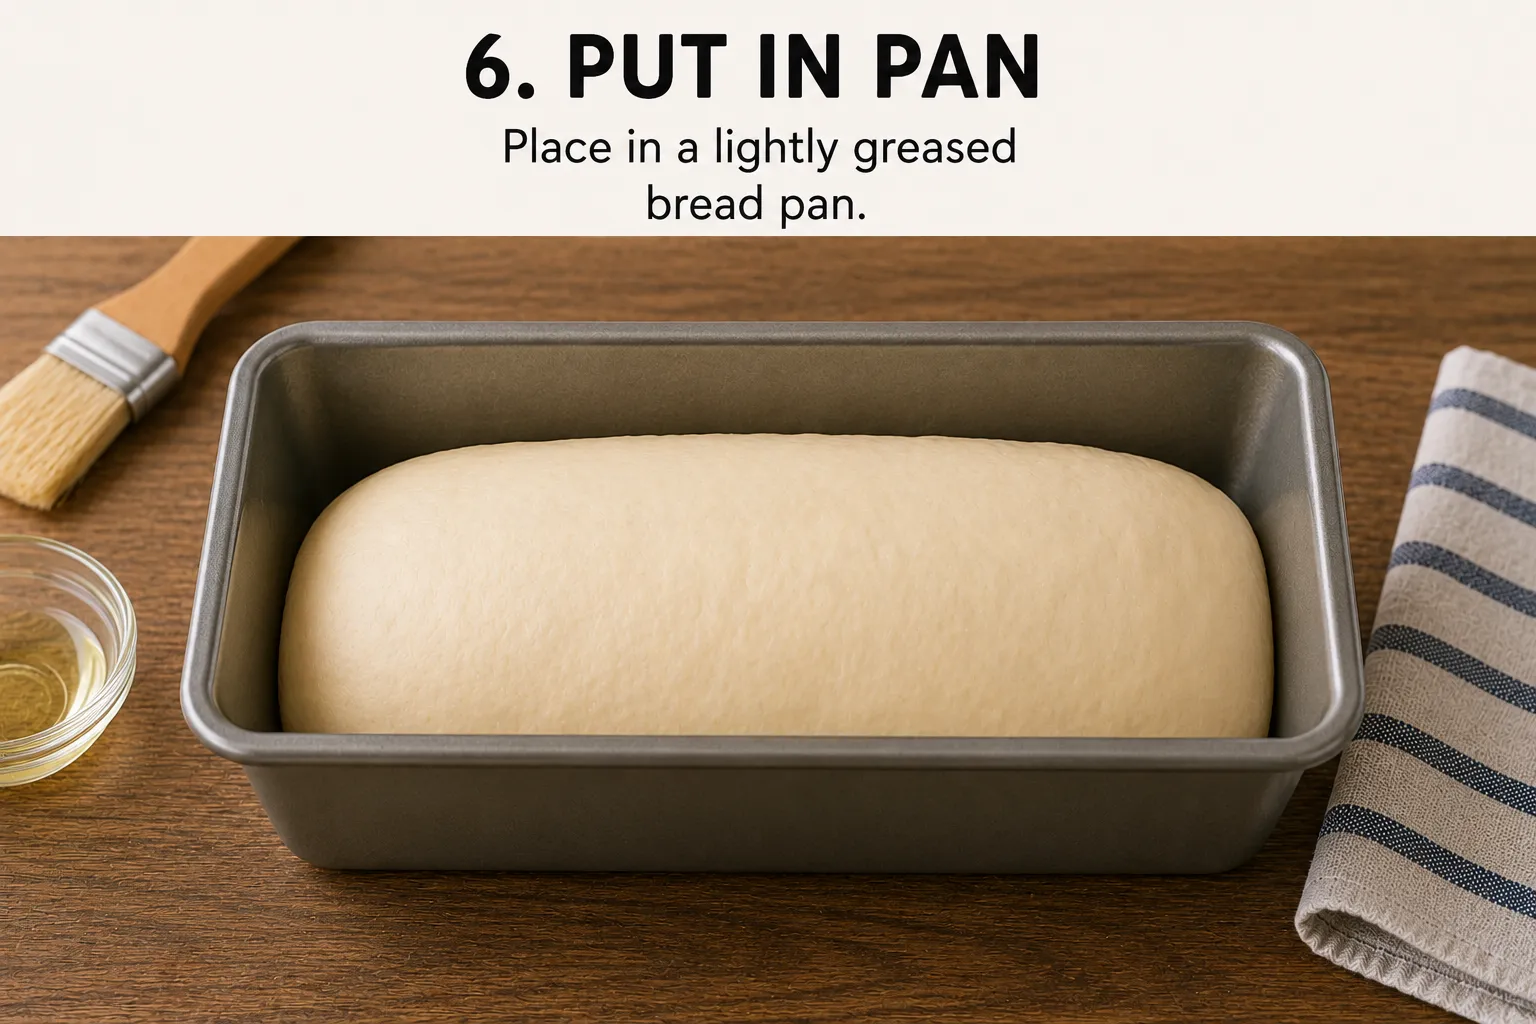
6 Put it in the pan
Place it seam-side down in a lightly greased bread pan. Seam-side down matters: left on top, the seam can open in the oven and split the loaf along its side.
-
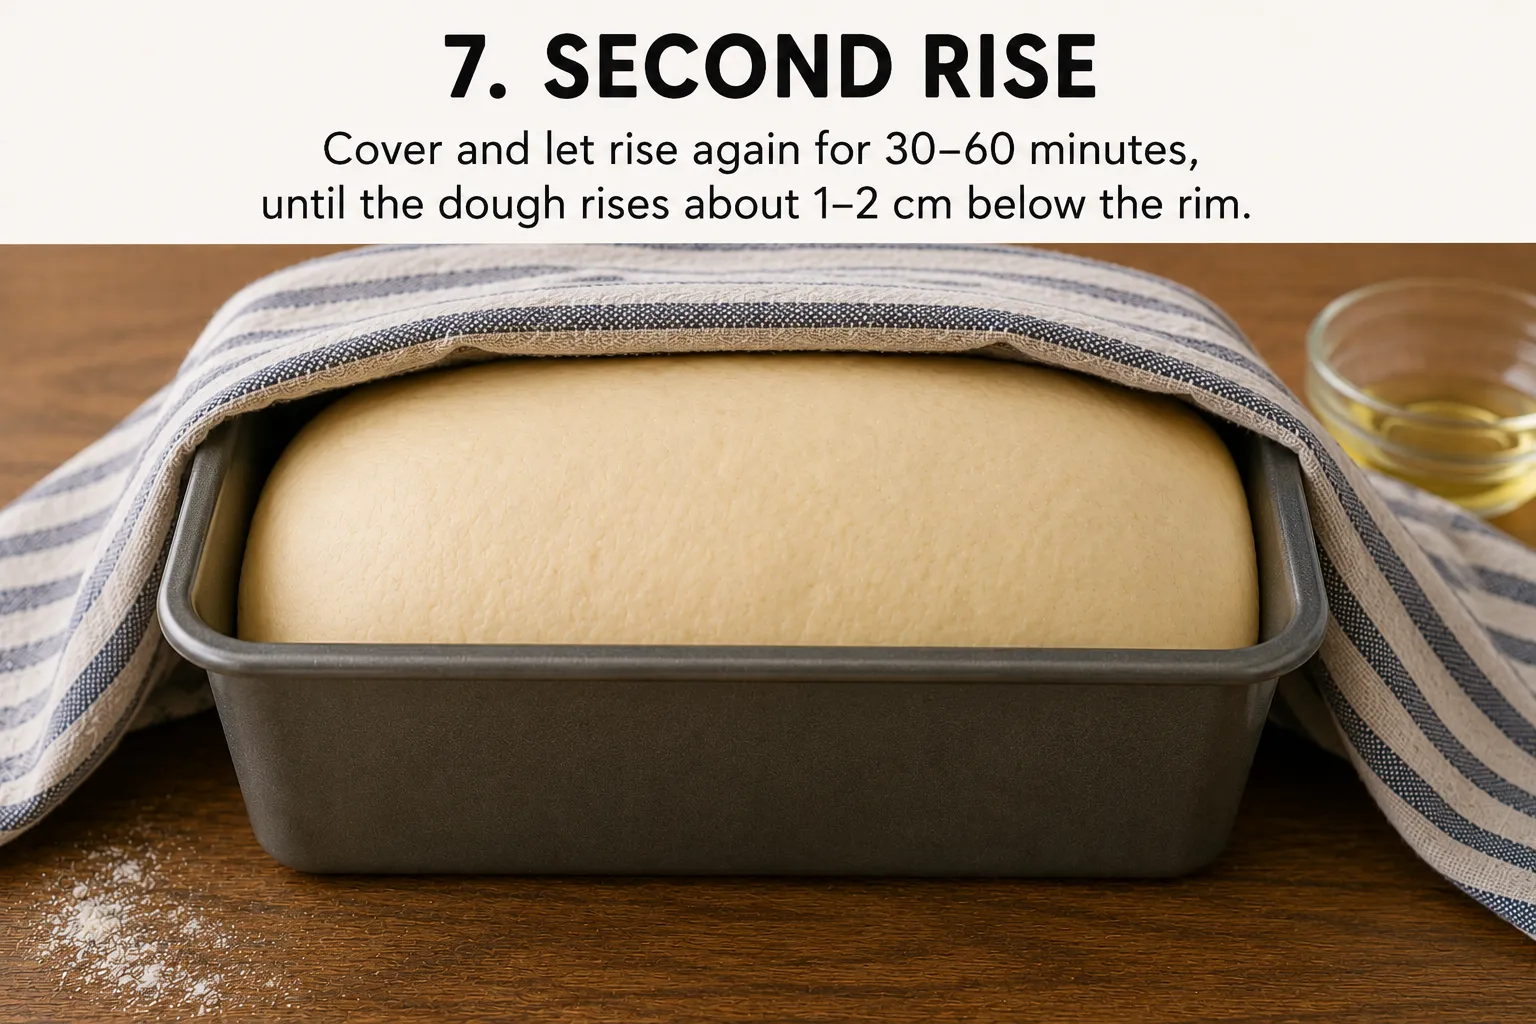
7 Second rise
Cover and leave 30 to 60 minutes, until the dough crowns about 1 to 2 cm below the rim. This is the step most often cut short. Under-proofed dough bakes dense; the loaf will rise a little further in the oven, but not enough to rescue it.
-
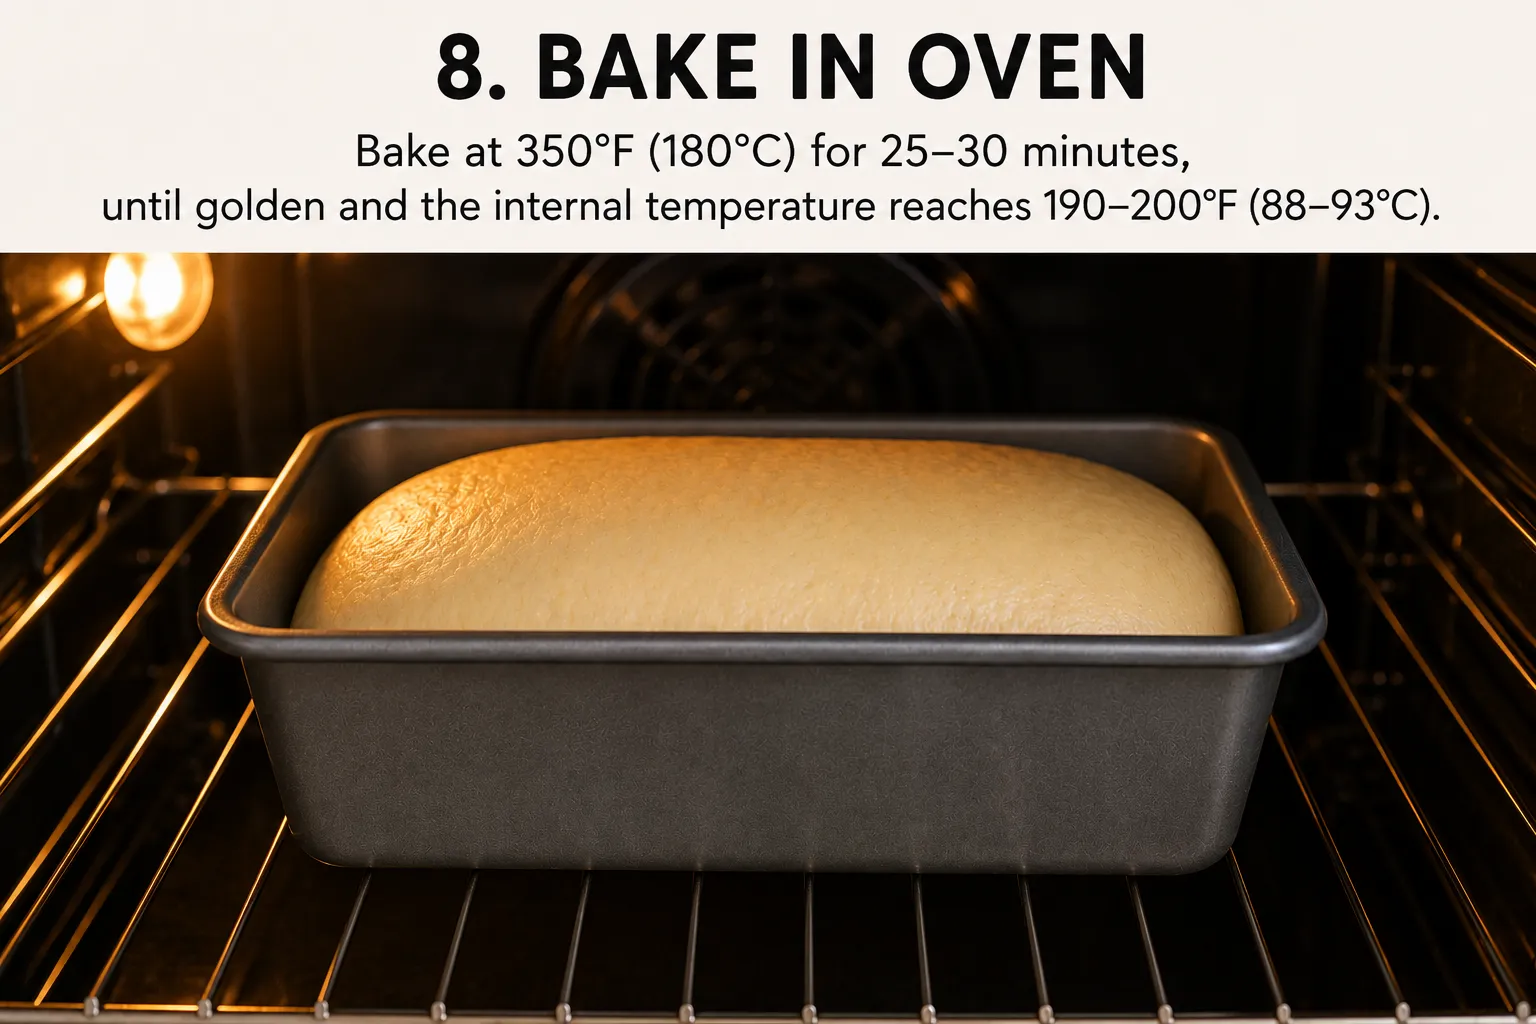
8 Bake
For a soft sandwich loaf, 180 C / 350 F for 25 to 30 minutes. Colour alone is unreliable — the loaf is done when the inside reaches 88 to 93 C / 190 to 200 F. If you have a thermometer, this is the one place to use it.
-
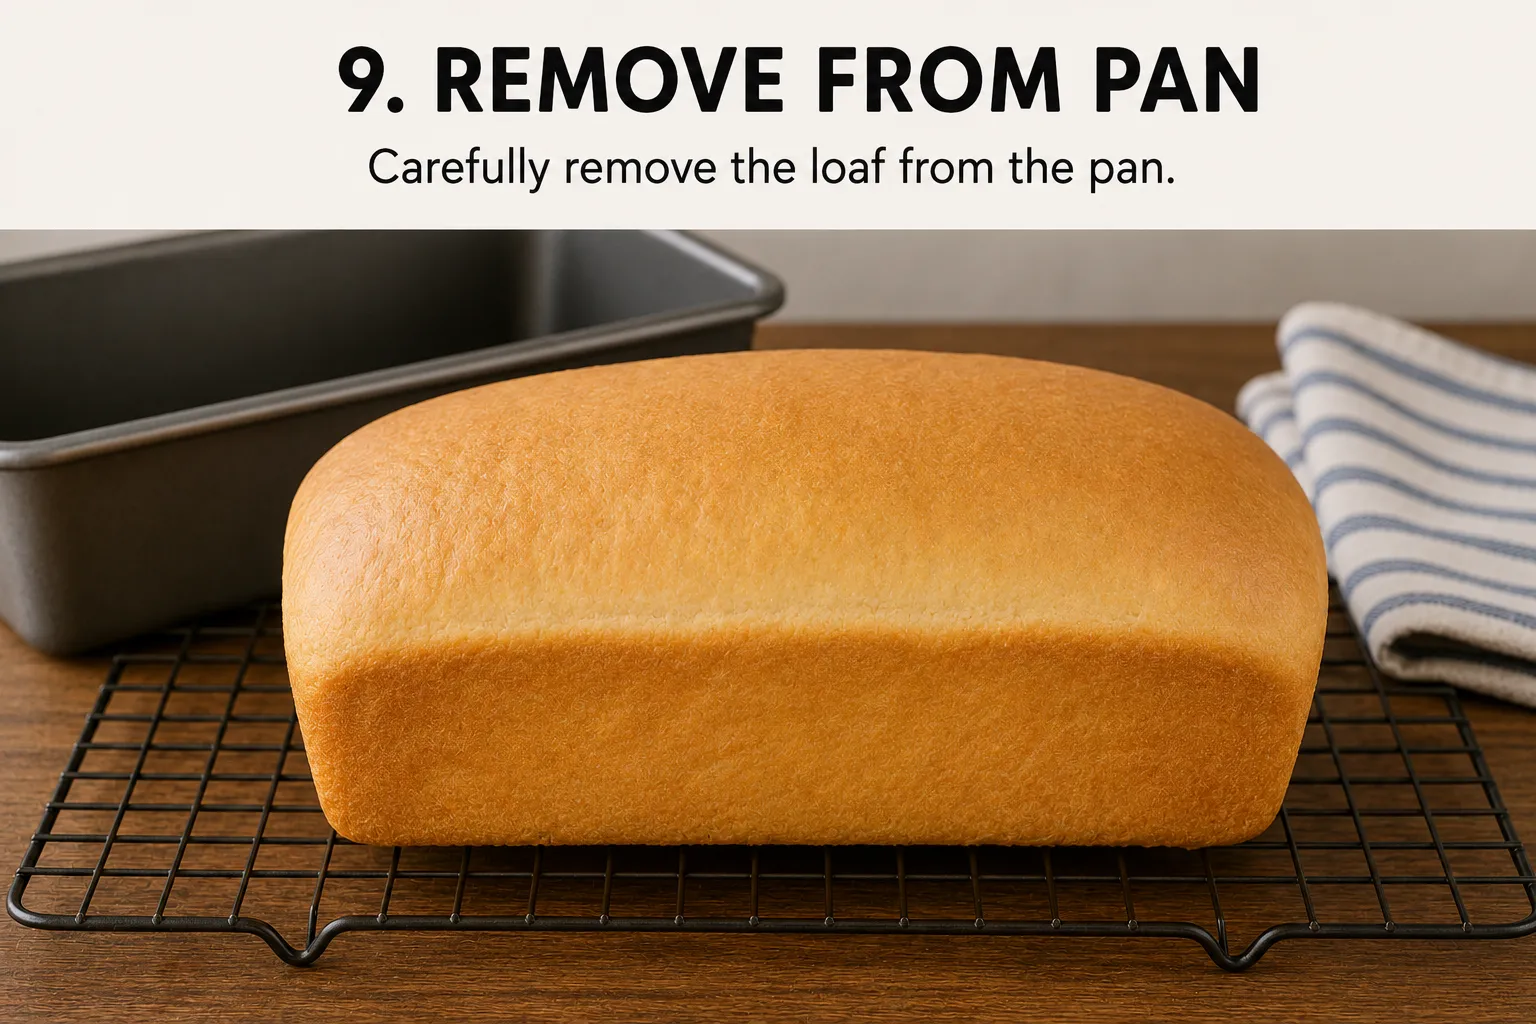
9 Get it out of the pan
Turn it out soon after it comes out of the oven. Left in the pan, steam collects underneath and the base turns damp and soft.
-
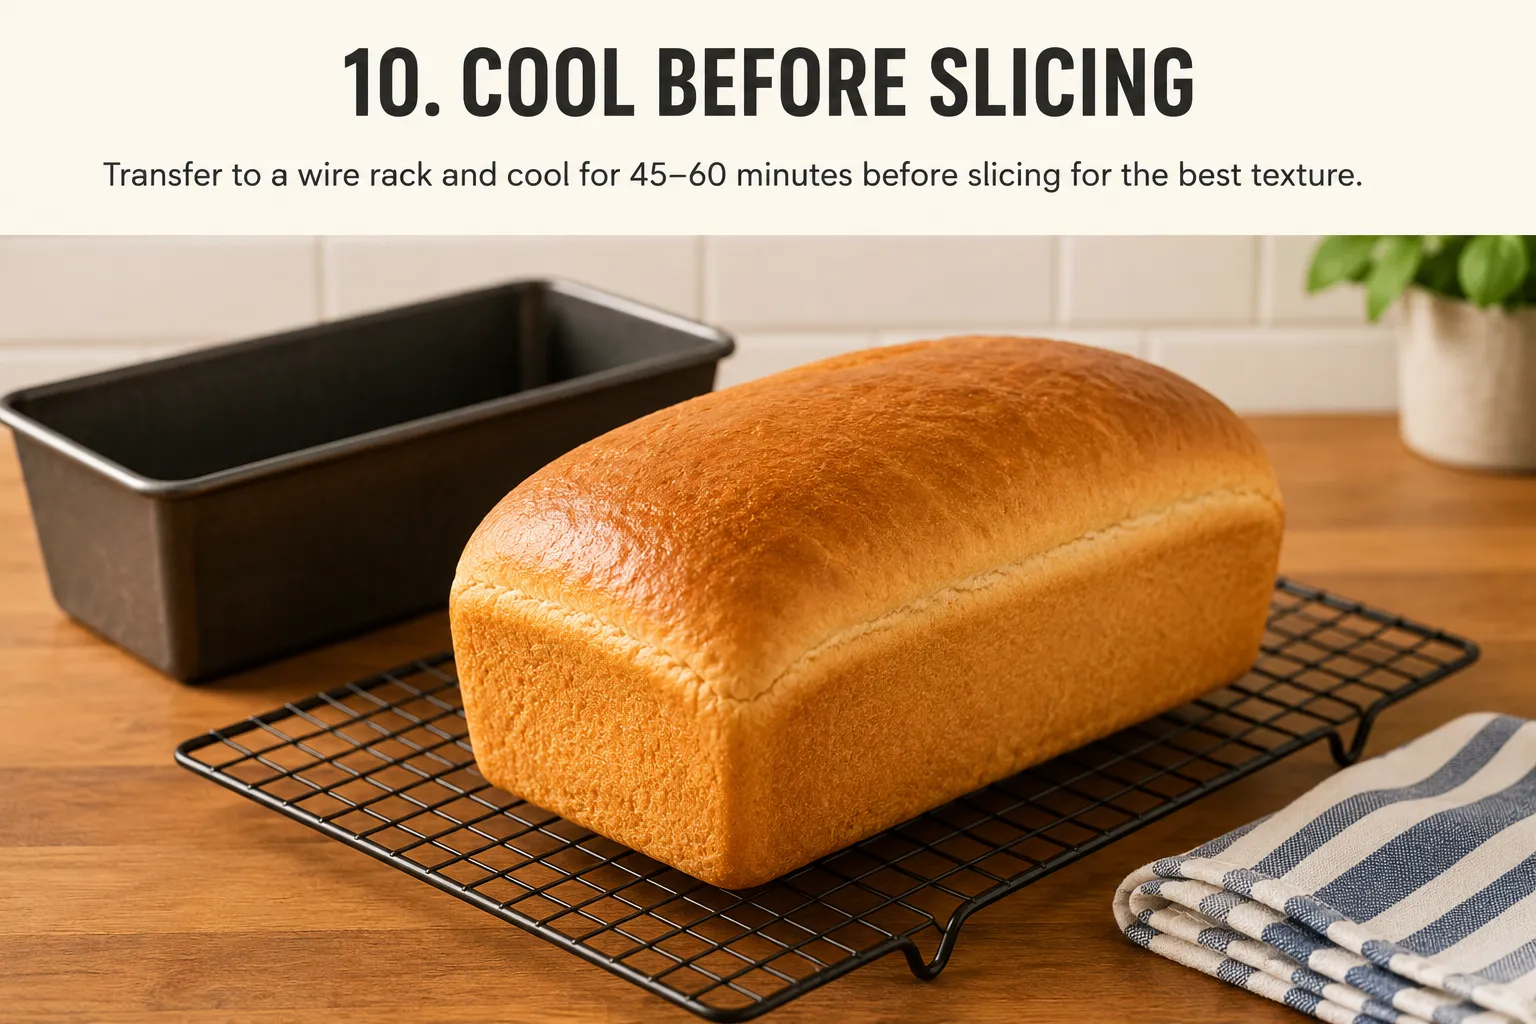
10 Cool before slicing
Give it 45 to 60 minutes on a wire rack before you cut into it. The crumb is still setting as it cools, and a warm loaf cut early tears and goes gummy. This is the hardest instruction on the page to follow.
Where it usually goes wrong
Three of these steps account for most disappointing loaves. Water too hot at the mixing stage, so the yeast never really wakes up. A second rise cut short because the dough looked close enough. And slicing into a warm loaf, which does more damage than any of the earlier steps.
Nothing here needs a stand mixer, a proving drawer or a starter kept alive on the counter. A bowl, a pan and an oven will do.