Homemade Sub Rolls
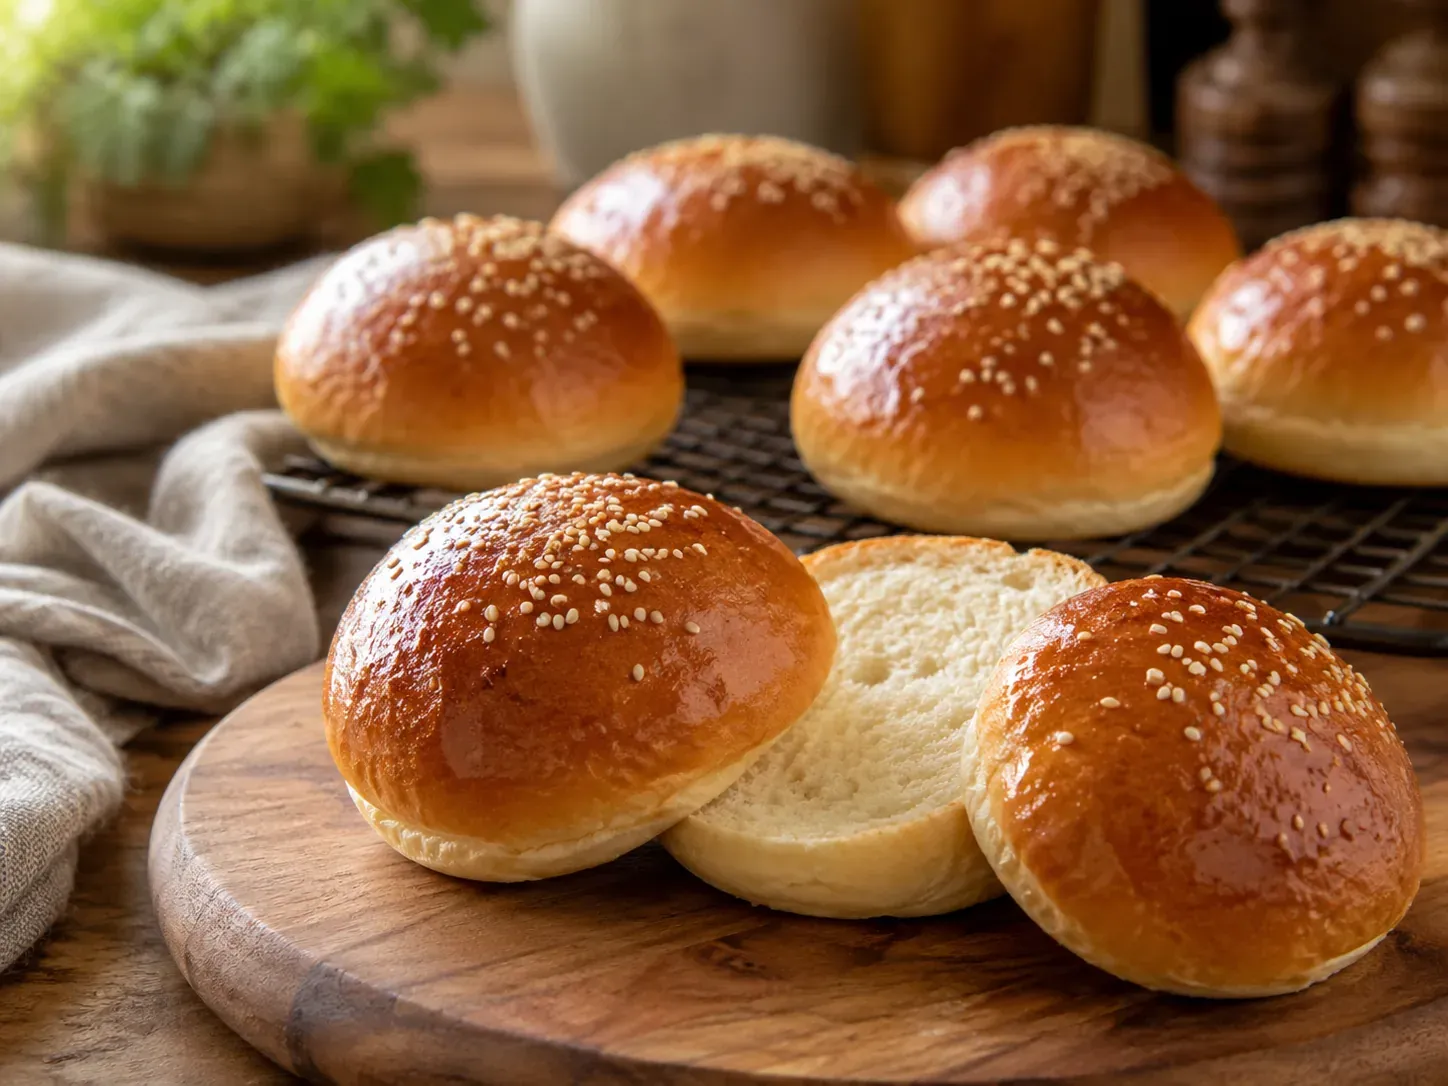
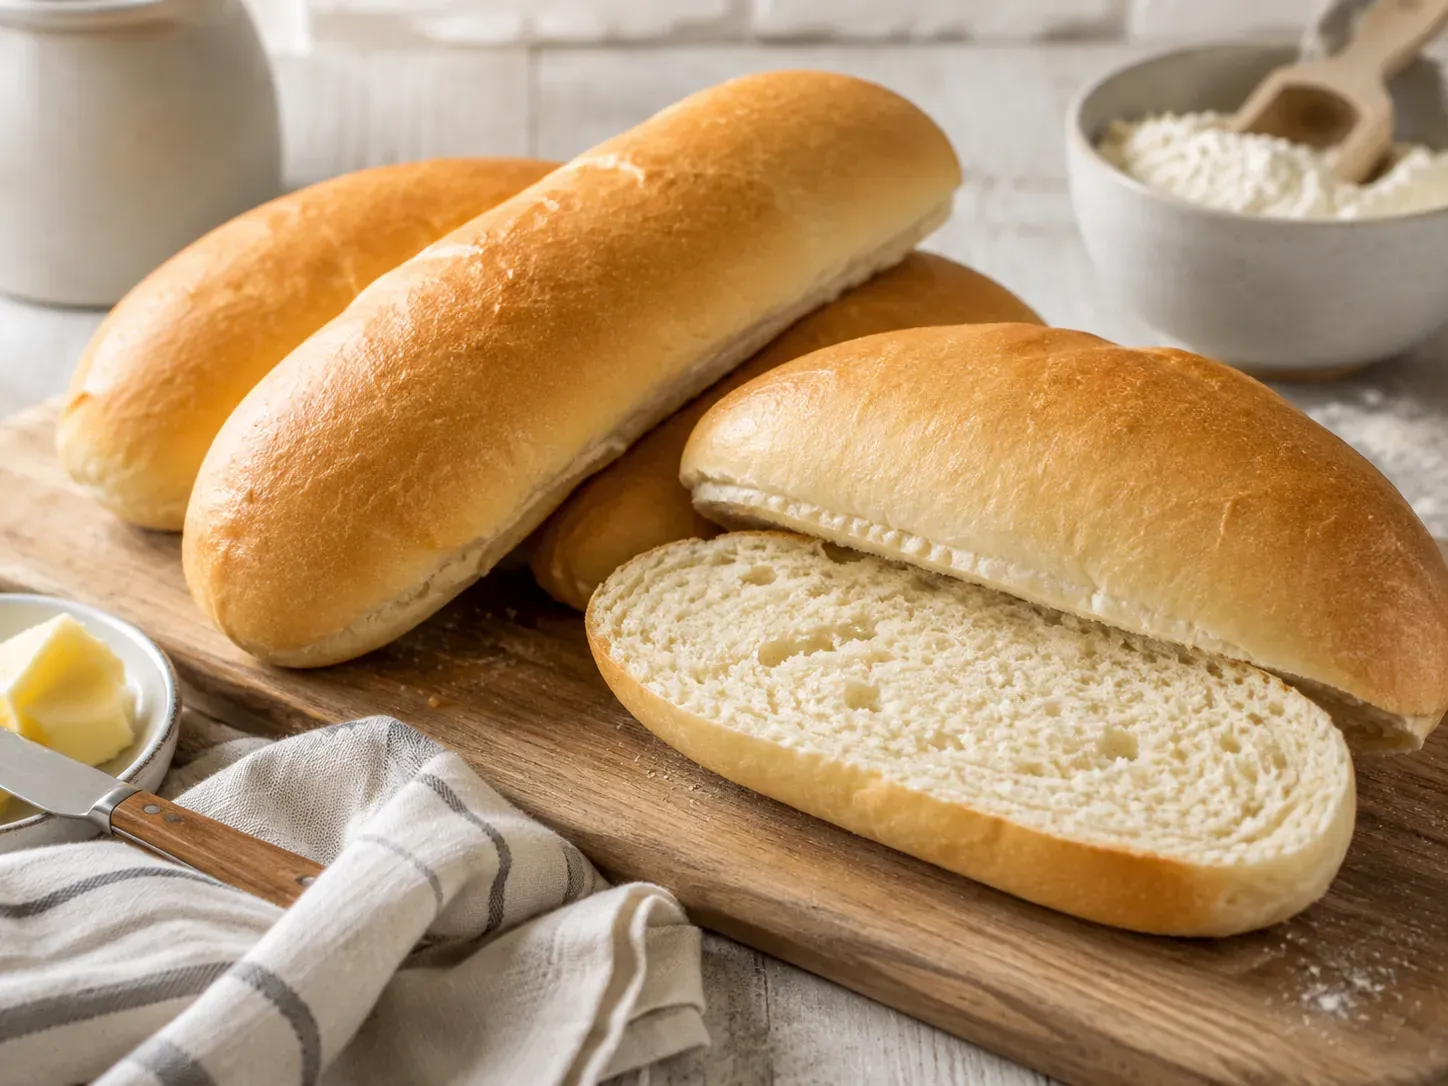
Soft but sturdy sandwich rolls with thin golden crusts and fluffy interiors.
- Measurements grams + cups
Why You'll Like This Recipe
- Soft enough to bite through cleanly but sturdy enough to hold a filled sandwich.
- Six rolls from one batch, and they freeze well.
- Cheaper and considerably better than supermarket sub rolls.
Soft but sturdy sandwich rolls with thin golden crusts and fluffy interiors.
Recipe
Homemade Sub Rolls
Soft but sturdy sandwich rolls with thin golden crusts and fluffy interiors.
Ingredients
Ingredients scaled. The method below still refers to the original quantities.
Instructions
- Step 1. Combine the warm water, sugar, yeast, and olive oil.
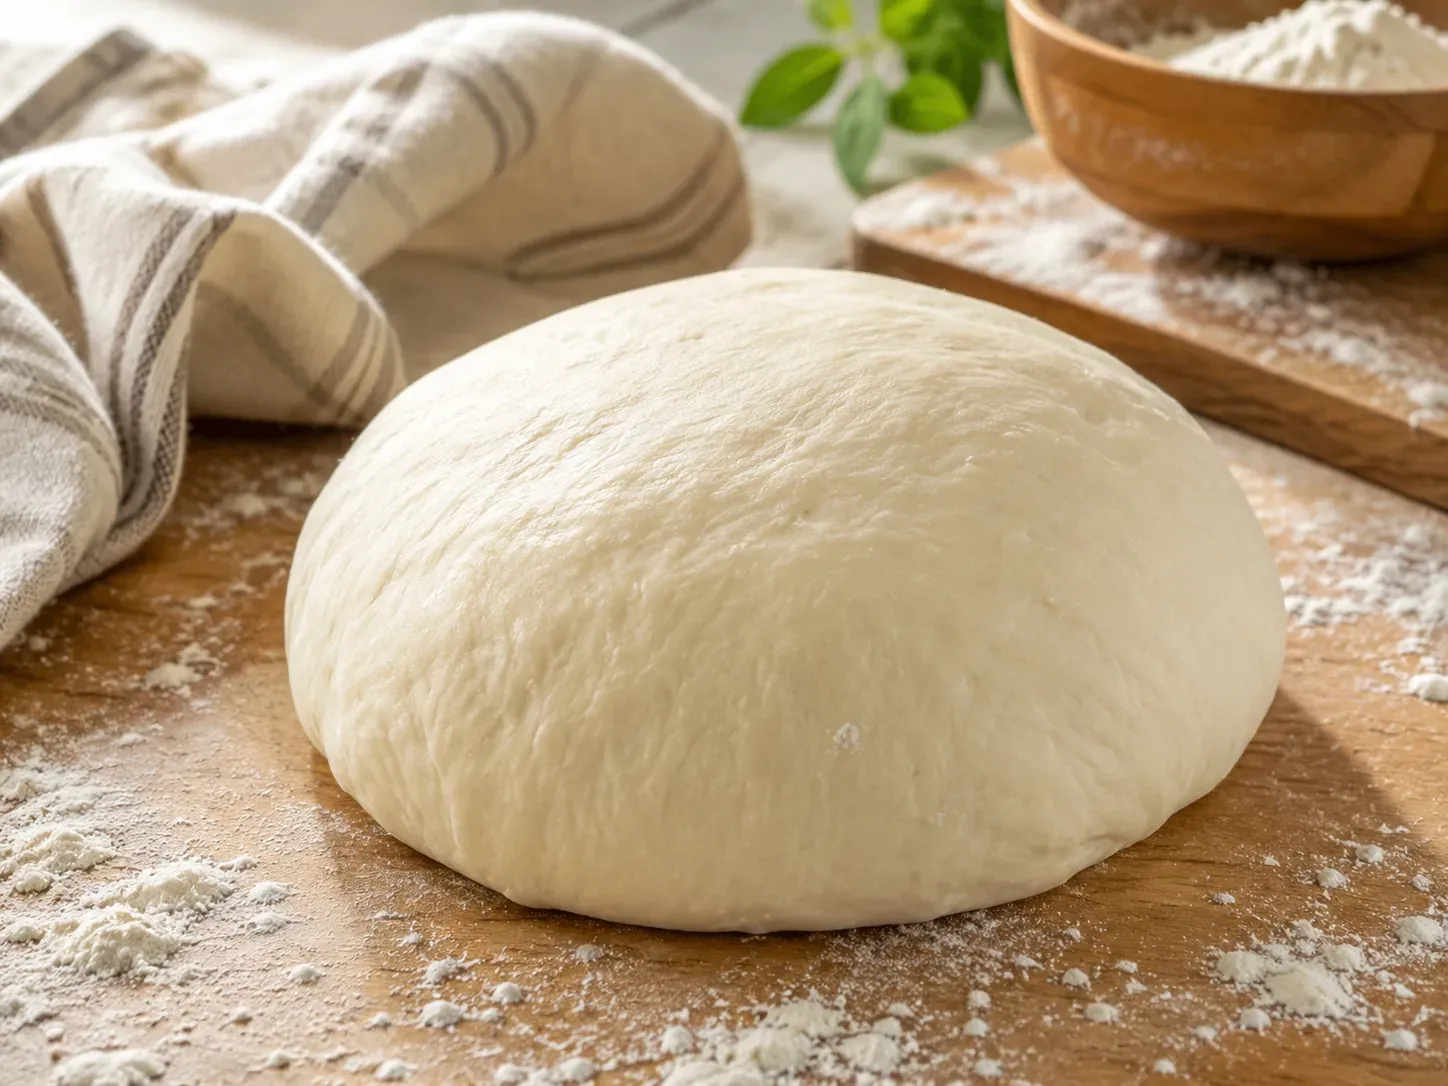
- Step 2. Add the bread flour and salt and knead 8 to 10 minutes until smooth and elastic.
- Step 3. Cover and rise 60 minutes, until doubled.
- Step 4. Divide into 6 pieces. Flatten each into a small rectangle, roll up tightly, and pinch the seam closed.
- Step 5. Roll gently into 18 to 20 cm / 7 to 8 inch logs and place seam-side down on a lined baking sheet.
- Step 6. Cover and rise 30 to 40 minutes.
- Step 7. Brush with egg wash if using and make one shallow lengthwise slash down each roll.
- Step 8. Bake at 200 C / 400 F for 18 to 22 minutes, until golden. Cool before slicing.
Notes
- For softer crusts, brush the hot rolls lightly with butter and cover with a clean towel for 10 minutes.
- Pinching the seam properly is what stops the rolls unrolling in the oven.
- Pinch the seam properly and place it underneath. An unsealed seam opens in the oven and the roll splits down its side.
- One shallow slash along the top gives the roll a controlled place to expand. Without it the crust tears wherever it likes.
- For softer crusts, brush the hot rolls with butter and cover with a towel for 10 minutes.
Homemade Sub Rolls — Simple Table Recipes · https://simpletablerecipes.com/recipes/homemade-sub-rolls/
Ingredient Notes
- Bread flour
- The strength matters here. A sub roll has to hold wet fillings without collapsing, and all-purpose flour gives a softer roll that goes soggy faster.
- Olive oil
- Keeps the crumb tender and the crust thin. A lean dough bakes crustier than you want for a sandwich roll.
Equipment
- Baking sheet
- Parchment paper
- Sharp knife or lame
Substitutions
- Bread flour
- All-purpose works for softer rolls that are better eaten fresh.
- Egg wash
- Optional. It gives shine and helps seeds stick. Milk gives a softer, duller finish.
- Seeds
- Sesame or poppy seeds after the egg wash, or a sprinkle of dried oregano and garlic powder for an Italian-style roll.
Storage & Freezing
Storing: Keep in a sealed bag for 2 days. Refresh in a hot oven for 5 minutes.
Freezing: Freeze for up to 2 months. Thaw at room temperature and warm briefly before filling.
Frequently Asked Questions
Why did my sub rolls split open on the side?
The seam was not sealed, or there was no slash on top. Pinch the seam firmly and lay the roll seam-side down, then cut one shallow line along the top so the expansion has somewhere to go.
How do I get soft sub rolls rather than crusty ones?
Brush them with melted butter as soon as they come out and cover with a clean towel for ten minutes. The trapped steam softens the crust.
Can I make them smaller?
Yes — divide into 8 or 10 pieces for smaller rolls and reduce the bake by about 3 minutes. Keep the shaping method the same.
Why are my rolls dense?
Too much flour, or a rise cut short. The dough should stay slightly tacky, and the shaped rolls need to look visibly puffy before baking.
Can I make the dough ahead?
Yes. After the first rise, shape the rolls and refrigerate overnight. Bring them back to room temperature for about an hour before baking.
Did you make this?
Let other people know how it went. One tap, nothing to fill in.
Thanks — that helps.